The short answer
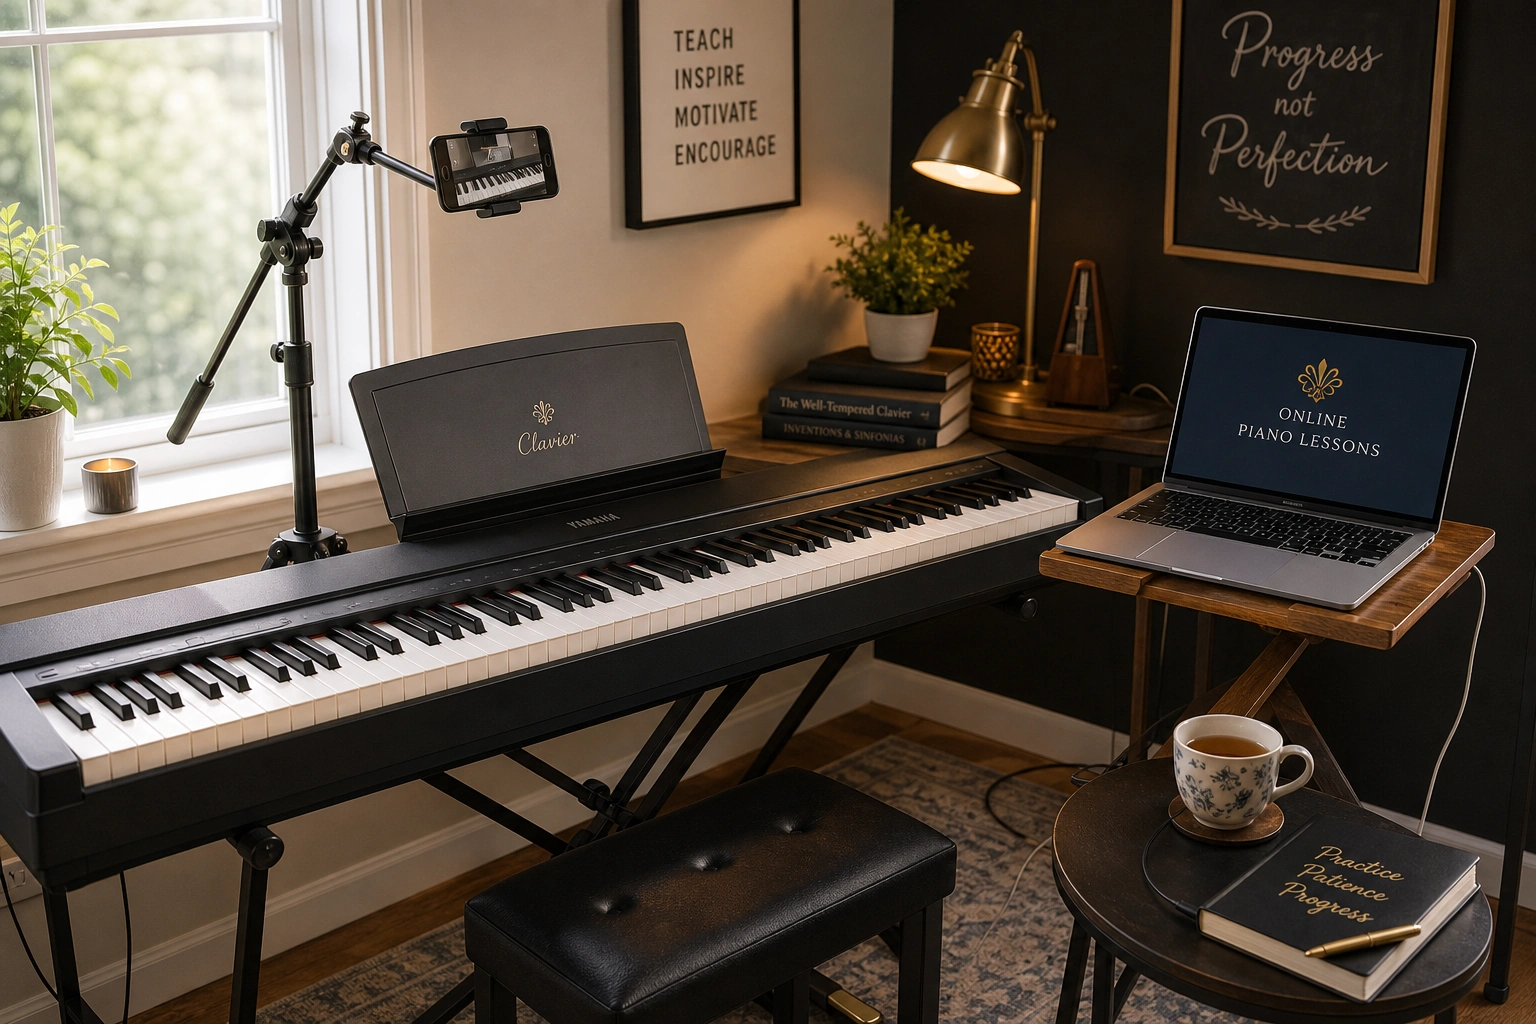
The setup for online piano lessons needs four things: a laptop or tablet propped so the teacher can see your hands and the keys clearly, a second device or tripod for that angle, Zoom’s “original sound” turned on, and decent lighting. Nothing fancy, no special equipment to buy.
I’ve taught hundreds of students over Zoom at this point, from six-year-olds to retirees, and the biggest surprise for most new families is how little gear it actually takes. If you want to see this gear in action before committing to anything, your first lesson is a full 60 minutes for $29 (normally $99, and you only pay after the lesson if you loved it) – a good low-pressure way to test your setup with real feedback from a real teacher.
What device should I use for online piano lessons?
A laptop, tablet, or smartphone all work fine for online piano lessons, as long as it runs Zoom smoothly and can be positioned to show your hands. Laptops are easiest because they sit stably on a flat surface near the keyboard without extra mounting.
I generally recommend whatever device a family already owns over buying something new. A few notes from experience:
- Laptops: easiest to prop at a usable angle without extra accessories, and the built-in mic is usually fine.
- Tablets: good picture quality, but need a stand since they tip over easily on their own.
- Phones: work well, especially as a second “hands” camera, but battery drains fast during a 45-60 minute lesson, so plug it in.
I’ve had adult students join from an eight-year-old laptop and seven-year-olds join from a parent’s phone propped against a stack of books – both worked. The device matters far less than the angle, which is the next thing to get right.
Where should the camera point to see my hands?
The camera should point down and across the full keyboard, capturing both hands, the keys, and a few inches of forearm, not your face. Your main device can stay on your face for talking, but a second device angled over the keys is what actually lets a teacher correct technique.
This single fix solves more online lesson frustration than anything else I coach families through. A camera aimed at your face only shows posture from the shoulders up – it misses finger shape, hand position, and where your wrist sits, which is most of what a teacher is actually watching for.
- Position the second camera slightly above and behind the hands, angled down the length of the keys.
- Make sure both hands are visible even when they move to the far ends of the keyboard.
- Avoid shooting straight-on from the front – it flattens the view and hides finger curve.
I had a student last year, a returning adult beginner, whose chords kept sounding muddy on Zoom. It turned out her hand camera only showed her right hand – the left was out of frame the whole time, so I’d been coaching blind on half her playing for weeks. One change of angle fixed it instantly.
Do I actually need a phone stand or tripod?
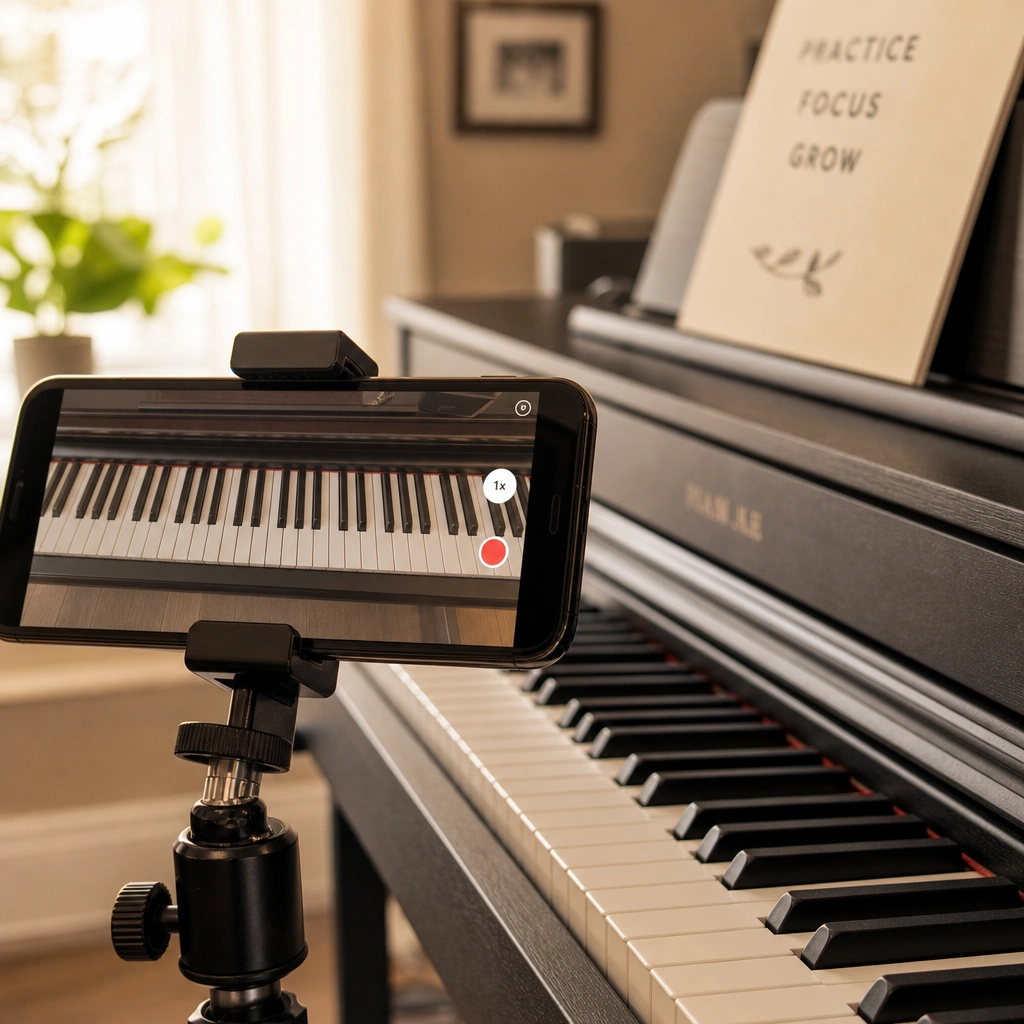
Yes, a phone stand or small tripod is the one accessory worth buying for online piano lessons. Propping a phone against a water bottle or a stack of books works in a pinch, but it shifts mid-lesson, and a stable hands-eye view matters more than almost anything else in your setup.
You don’t need anything expensive. A basic desktop tripod or a flexible phone clamp, clipped to a shelf or music stand above the keys, holds the angle steady for the whole lesson. I ask most families to set this up once and leave it – once it’s dialed in, it takes ten seconds to use every week.
What Zoom audio settings should I use for piano?
Zoom’s default audio settings compress and suppress sound in ways built for speech, which makes piano sound thin, muffled, or oddly distorted. Turning on “original sound for musicians” in Zoom’s audio settings fixes this and is the single most important software setting for online piano lessons.
Here’s how to turn it on, and why it matters:
- Open Zoom, go to Settings, then Audio.
- Check the box for “Original sound for musicians.”
- During a call, a toggle for “Original Sound” will appear in the top left – click it on before you start playing.
- Also turn off “Suppress background noise” or set it to “Low” if your room is quiet.
Without this, Zoom’s noise-cancelling treats sustained piano notes and chords as background noise and quietly fades them, especially in the lower register. I’ve had students sound perfectly fine on a scale but strangely faint on a sustained chord – that’s Zoom’s default compression at work, not a playing problem.
Getting the camera, sound, and lighting right takes one lesson to dial in with someone watching on the other end. Your first lesson with Austin is a full 60 minutes for just $29 (normally $99). Love it, or it’s on us.
Should I wear headphones during a lesson?
Headphones help in some situations but are not required for most online piano lessons. They’re genuinely useful if you’re practicing on a digital piano with a headphone jack in a shared or thin-walled space, or if feedback and echo show up when two devices are open near each other.
A few practical notes:
- If you’re using two devices (one for talking, one for the hand camera), mute the second device’s audio entirely to avoid echo.
- Wired headphones are more reliable than Bluetooth, which can introduce a slight audio lag that’s distracting when you’re trying to play in time.
- If you don’t own a digital piano with a jack, skip headphones and let the room mic pick up your acoustic sound naturally – it’s usually clearer than you’d expect.
How fast does my internet need to be?
A stable connection of around 10-15 Mbps download and 3-5 Mbps upload is plenty for a smooth online piano lesson with one video feed and one audio feed. Speed matters less than stability – a slower connection that doesn’t drop is better than a fast one that stutters.
If lessons keep freezing or audio cuts out, try these fixes before assuming your internet plan is the problem:
- Connect by ethernet cable if possible, or sit close to the router.
- Close other apps and devices streaming video during the lesson.
- Turn off your main camera’s video (keep the hands camera) if bandwidth is tight – audio and hand visibility matter more than seeing your face.
“Austin explains everything clearly and makes online piano lessons easy to follow.” – Emily Carter. A clear connection is part of what makes that clarity possible – garbled audio undoes even the best explanation.
How should I light the room?
A room lit from the front or side, with no bright window or lamp directly behind you, gives a clear picture for online piano lessons. Backlighting turns you into a silhouette and makes it impossible to see hand position clearly, which defeats the purpose of the hands camera.
Simple fixes that work in almost any room:
- Face a window instead of sitting with your back to it.
- Add a lamp near the keyboard if the room is dim in the evening.
- Avoid single overhead lighting only – it casts shadows across the keys that hide finger placement.
Where should I put the keyboard in the room?
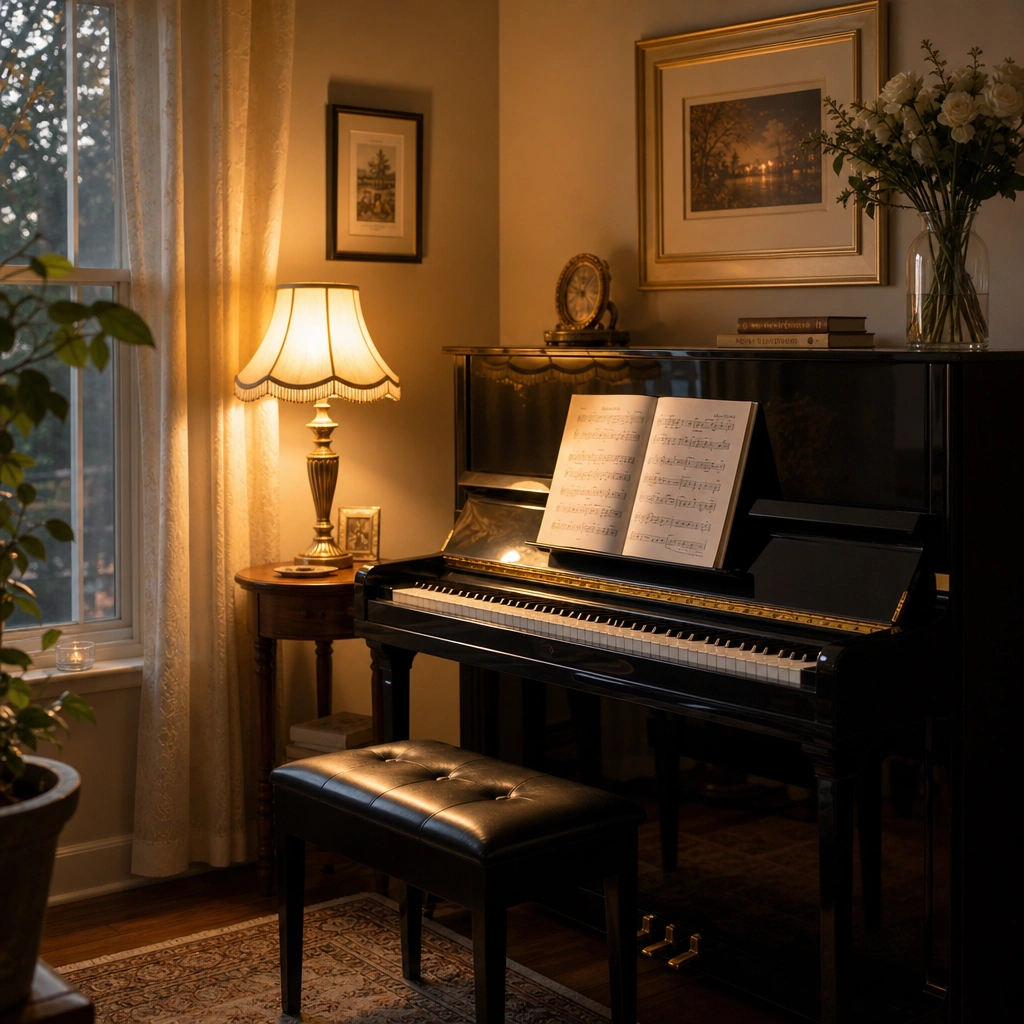
The keyboard should sit somewhere with room behind and above it for a camera or tripod, away from a bright window at your back, and close enough to your router or Wi-Fi signal to stay stable. A corner near a window, facing in, usually works better than a corner with the window behind.
A few setup details that make a real difference:
- Leave at least two to three feet of space behind the bench for the hands-camera angle.
- Keep the keyboard away from heating vents and direct sun if it’s a digital piano – temperature swings can affect tuning and electronics over time.
- If space is tight, a wall-facing setup with a lamp overhead often beats a window-facing one with glare.
I had a family in a one-bedroom apartment who wedged their keyboard into a closet nook with great lighting and a shelf-mounted phone stand above it – better camera setup than some home studios I’ve seen. Space size matters far less than thinking through the angle and light once.
For students weighing keyboard size itself rather than where to put it, that’s covered separately in our guide on what size keyboard works for lessons. And if you’re curious what actually happens once the camera’s rolling, see how a Zoom piano lesson runs.
“I started as a complete beginner, and Austin made the learning process feel comfortable.” – Noah Peterson
A comfortable setup is part of that comfort – once the camera, sound, and lighting fade into the background, the lesson just feels like sitting at the piano with a teacher next to you.
Common questions
Can I use a laptop’s built-in camera for both my face and my hands?
Not well. A single built-in camera usually can’t show both your face and a clear hand angle at once. Most students use their laptop for talking and a phone or tablet on a stand for the hands, joining the same Zoom call as a second participant with its audio muted.
Do I need a digital piano or will an acoustic piano work for online lessons?
An acoustic piano works fine for online lessons as long as the room mic picks up its sound clearly, which it usually does. Digital pianos add the option of a headphone jack and direct audio output, but neither type is required – either works well with the right camera and mic setup.
What if my Wi-Fi is weak where my piano is?
A Wi-Fi extender or a long ethernet cable run to the room usually solves this. If neither is practical, turning off your main video feed while keeping audio and the hands camera active uses far less bandwidth and often clears up the connection entirely.
Should I test my setup before the first lesson?
Yes, a five-minute test call with a friend or family member checking the camera angle, audio, and lighting saves time in your actual lesson. It’s not required, though – most setup issues are easy to fix together in the first few minutes of a lesson anyway.
Does the camera angle matter as much for advanced students?
Yes, arguably more. Advanced repertoire often involves fast hand crossovers, pedaling, and wide reaches that are easy to miss on a poor angle. A stable hands-camera setup matters at every level, from a first lesson through advanced repertoire work.
Can I switch between devices if something stops working mid-lesson?
Yes. If a device dies, loses connection, or the angle shifts badly, just say so – switching to a phone propped on a nearby surface for the rest of the lesson is a normal, easy fix and not something to feel awkward about.
Ready to find out for yourself?
Your first lesson with me is a full 60 minutes for just $29 (normally $99). We will evaluate where you are, talk through your goals, and map out your path. Love it, or it’s on us.
Free guide for parents
The 10-Minute Practice Plan
What to practice, how to help when you don’t read music, and what to do when they don’t want to. A short printable guide from Austin, with a four-week practice chart.