The short answer
Finger independence on piano is built through slow, hands-separate repetition of simple patterns – like playing one finger at a time while keeping the others relaxed on the keys – combined with exercises such as Hanon, five-finger scales, and deliberately isolating weak fingers (usually 4 and 5). Most students notice real improvement within 3-4 weeks of 10-15 focused minutes a day.
This is one of the most common questions I get from students at every level, from a 7-year-old struggling to keep finger 4 from collapsing to an adult relearning piano who feels like their right hand “thinks” better than their left. If you want personalized feedback on exactly which exercises your hands need, book a free 30-minute trial lesson and I’ll check your technique and build you a plan.
What is finger independence, exactly?
Finger independence is the ability to move one finger with control and strength while the other fingers stay still, relaxed, and resting lightly on the keys. It’s not about strength in the muscular sense – it’s about isolating nerve signals so one finger doesn’t “borrow” movement from its neighbors.
Try this right now, away from the piano: rest your hand flat on a table and lift only your ring finger. For most people, the pinky and middle finger twitch along with it. That’s not weakness – it’s anatomy. The tendons of fingers 3, 4, and 5 share connective tissue, which is exactly why those fingers cause the most trouble at the keyboard.
- Fingers 1 and 2 (thumb and index) move the most independently for almost everyone.
- Fingers 3 and 4 share the most tendon connections and are the hardest to separate.
- Finger 5 is often weak simply from underuse in daily life.
Understanding this changes how you practice. You’re not fighting laziness – you’re training a real physical connection, and that takes repetition, not force.
Why do some fingers feel weak or clumsy?
Fingers feel weak or clumsy at the piano mainly because of shared tendons between fingers 3, 4, and 5, combined with simple lack of practice. The brain hasn’t yet built a strong, separate motor pathway for each finger, so movements bleed into each other.
I see this constantly with new students. A student will play a C major five-finger pattern and finger 4 will either barely lift off the key or will drag finger 3 slightly with it. That’s completely normal at the start – it’s not a sign of bad hands, it’s a sign of an untrained motor pattern.
Tension makes it worse. Students who grip the keys or press with stiff wrists actually reduce finger independence, because tension locks fingers together instead of letting them move freely. If this sounds familiar, it’s worth reading about piano hand tension alongside your independence work, since the two problems often travel together.
What exercises build finger independence fastest?
The fastest results come from slow, repetitive exercises done hands-separate at first: Hanon patterns, five-finger scales with finger-lift drills, “silent finger holds,” and isolating the weak 3-4-5 combination specifically. Speed only gets added once the movement is clean and relaxed.
Here is the exact sequence I give most students, in order of priority:
- Five-finger scale, hands separate. Play C-D-E-F-G slowly, lifting each finger clearly before the next one presses. Aim for even volume on every note.
- Finger-hold drills. Hold down fingers 1, 2, and 3 silently on the keys while fingers 4 and 5 tap repeatedly. This isolates the weak pair directly.
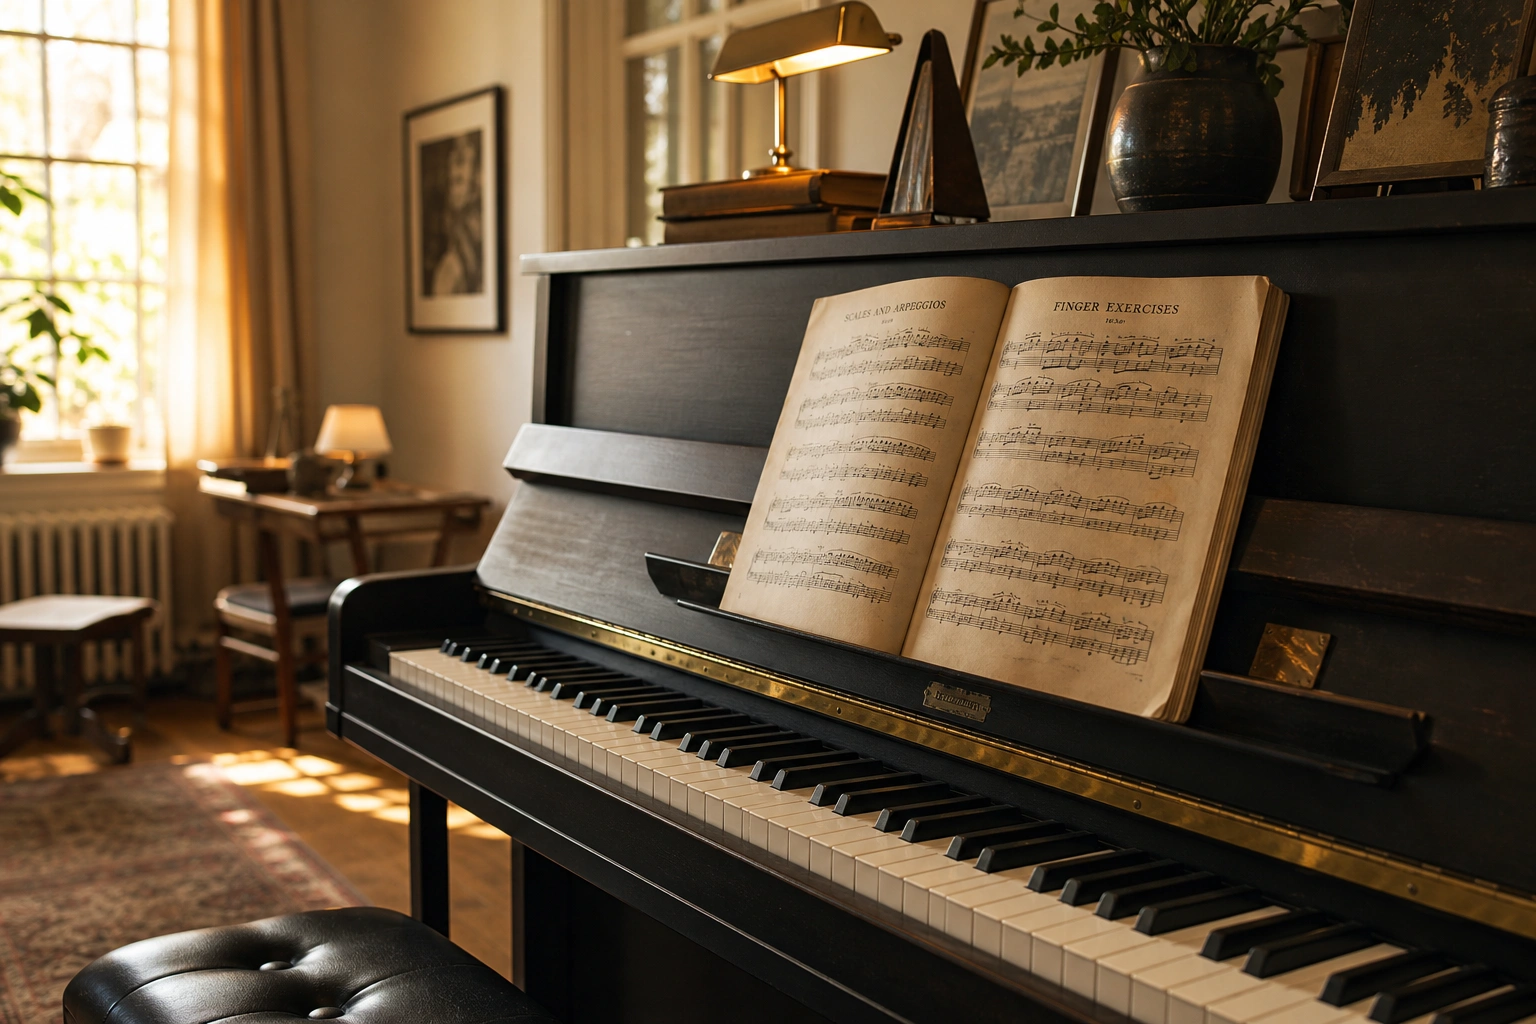
- Hanon exercises. The classic Hanon patterns are built specifically for this. If you’re new to them, start with the basics in our guide to Hanon exercises for beginners.
- Finger substitution drills. Repeat one note using fingers 2-3-4-5 in sequence, keeping the hand still. This trains independent control without hand movement to compensate.
- Interval leaps. Play C with finger 1 and G with finger 5 alternately, which forces the outer fingers to work without help from the middle ones.
Keep each drill under 2 minutes at first. Longer than that and fatigue causes compensating movements, which actually reinforces the bad habit you’re trying to fix.
How long does it take to notice a difference?
Most students notice a real difference in finger independence within 3-4 weeks of consistent daily practice – about 10-15 minutes focused specifically on these drills. Full evenness and control across all five fingers, especially at speed, typically develops over 6-12 months of ongoing technique work.
One of my adult students, a software engineer who came back to piano after 20 years away, could barely get finger 4 to move independently in his first lesson. He practiced the finger-hold drill for 10 minutes a day, separate from his regular repertoire. By week three he could play a clean C major scale with noticeably even tone – a change he noticed himself before I even pointed it out.
“I started as a complete beginner, and Austin made the learning process feel comfortable.” – Noah Peterson
Kids often progress faster on raw dexterity but need more repetition to build consistency, since attention span is shorter. Adults tend to understand the “why” quickly but need patience with the physical retraining, since adult hands have more ingrained habits to undo.
If uneven fingers are holding back your playing, a quick technique check can save you months of frustrating practice. Your first 30-minute lesson with Austin is free – no card, no pressure.
What mistakes slow down finger independence?
The biggest mistakes that slow down finger independence are practicing too fast too soon, gripping the keys with tension, and ignoring the weak fingers instead of isolating them directly. Speed without control just reinforces sloppy, connected movement patterns.
Mistakes I see on repeat, almost every week, across different students:
- Rushing the tempo. Fast, messy repetition trains the brain to move fingers together, not separately. Always drill slow first.
- Raising the whole hand instead of one finger. This hides weakness rather than fixing it – watch for the wrist bouncing with each note.
- Skipping hands-separate practice. Playing hands together before each hand is solid alone doubles the coordination demand and slows progress.
- Practicing in short, inconsistent bursts. Two minutes once a week does almost nothing; the nervous system needs daily repetition to build new pathways.
- Tense shoulders and wrists. Tension travels down into the hand and locks fingers together – the opposite of independence.
I had a student years ago who insisted on playing Hanon at full speed from day one because “that’s how it sounds on the recording.” Her fourth finger never fully separated from her third until we slowed everything down to half tempo for two weeks. Slower practice, paradoxically, got her to full speed faster than rushing ever did.
What does a good daily routine look like?
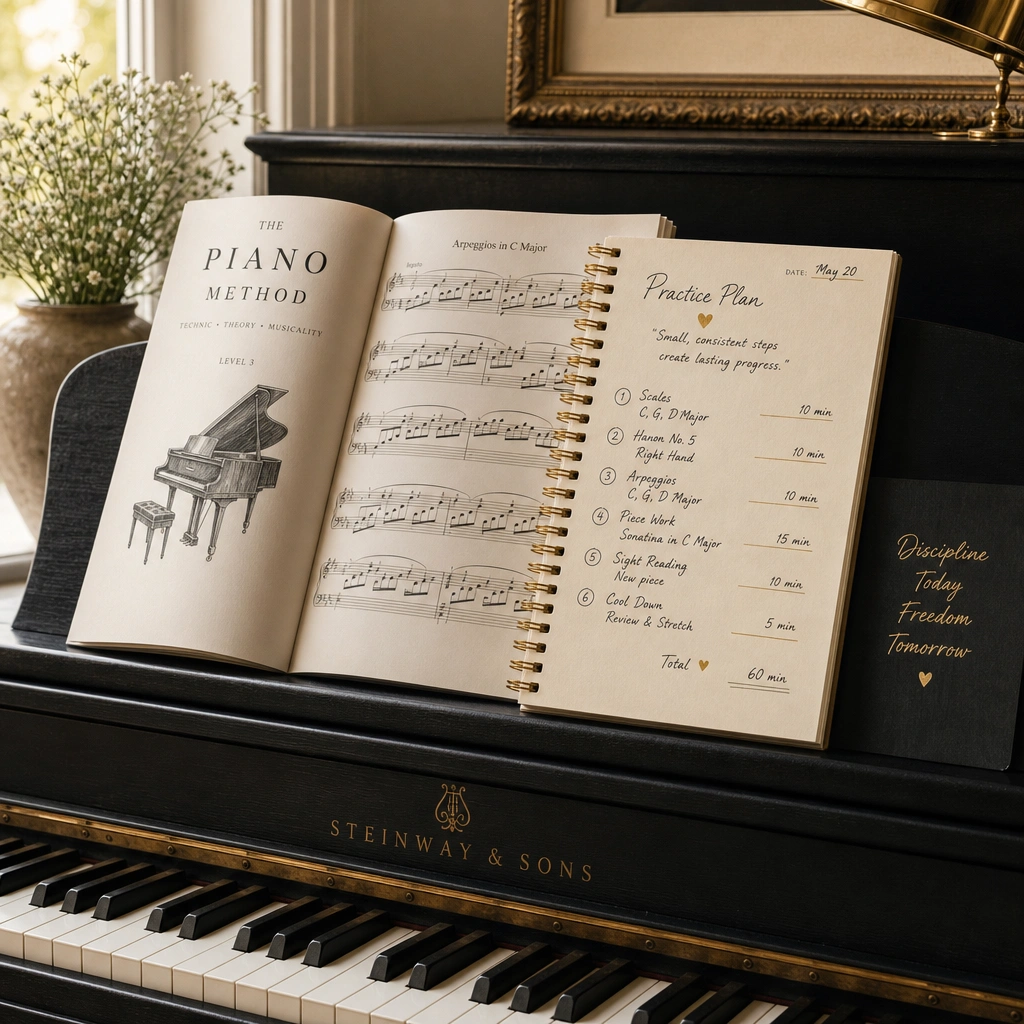
A good daily routine for finger independence includes 5-10 minutes of slow, isolated drills before diving into songs – not as a separate chore, but as a warm-up that primes the hands for everything else in the practice session. Consistency matters more than duration.
Here’s a simple structure that works for most students, beginner through intermediate:
- Minutes 1-3: Five-finger scale, hands separate, both hands eventually.
- Minutes 4-6: One finger-hold drill targeting fingers 4 and 5 specifically.
- Minutes 7-9: One Hanon exercise or equivalent pattern, slow and even.
- Remaining time: Regular repertoire or left-hand exercises, since weak-finger control often shows up most in the left hand – see our first things to learn on piano guide if you’re just getting started with structuring practice overall.
A metronome helps here too – set it slow (around 60-70 bpm) and resist the urge to speed up until every note is even in volume and timing. Keeping rhythm steady while isolating fingers is its own skill; our guide on how to count rhythm on piano pairs well with this routine.
According to research summarized on motor learning, skill acquisition for fine motor tasks like this improves most with distributed practice – short, frequent sessions – rather than long, infrequent ones. That matches what I see in lessons week after week: daily 10-minute drills beat a single 45-minute cram session every time.
Common questions
Can adults build finger independence as well as kids?
Yes. Adult hands can absolutely build finger independence – the muscle and tendon anatomy is the same, and adult focus often speeds up drill-based practice. The main difference is that adults sometimes carry more ingrained tension habits from typing or other repetitive hand use, which needs gentle unlearning first.
Do finger independence exercises hurt or cause strain?
They shouldn’t. Mild fatigue is normal, but sharp pain or soreness means you’re gripping too hard or practicing too long without breaks. Stop, shake out your hands, and reduce tension before continuing – persistent pain is a sign to pause and reassess your technique, not push through.
Is finger independence the same as finger strength?
Not quite. Finger independence is about motor control and isolating movement, while strength is about force production. You can have strong fingers that still move together clumsily, which is why independence drills focus on control and evenness rather than pressing harder.
Should I practice finger independence drills before or after songs?
Before songs works best for most students. Treat independence drills like a warm-up – 5-10 minutes of focused, slow practice primes the hands and brain before you move into repertoire, where attention naturally shifts toward musicality instead of raw mechanics.
Can a weighted keyboard affect finger independence training?
Yes, somewhat. Weighted keys provide resistance similar to an acoustic piano, which helps build appropriate finger strength and control. Unweighted keyboards can make independence drills feel easier than they really are, since there’s less resistance to isolate against.
Will finger independence help with playing chords and songs with specific fingerings?
Definitely. Strong finger independence makes chord voicing, melody-with-accompaniment playing, and fast passages much cleaner, since each finger can move precisely without dragging its neighbors. If you’re working toward a specific song, this technique work pays off quickly – our lessons to learn a specific song page covers how we build custom arrangements around a student’s current technique level.
Ready to find out for yourself?
Your first 30-minute lesson with me is completely free – we will evaluate where you are, talk through your goals, and map out your path.